Wheel bearings are a critical component of vehicles and machinery. It is the lifeblood of the engine, keeping everything in motion. Without clean, well-maintained bearings, you will quickly see a decrease in vehicle performance and lifespan.
This article will discuss the importance of wheel bearing maintenance and cleaning.
3 Tips to Promote the Longevity of Wheel Bearings
If you look after your vehicle’s bearings, they will look after you by helping your equipment function to its highest potential and lasting as long as possible. Here are three tips to promote the longevity of bearings:
1. Ensure the Wheel Bearing is Mounted Correctly
The first thing you should do is make sure the bearings are mounted correctly. Incorrect installation can cause a bearing to fail prematurely. The bearings mustn’t be over-tightened or under-tightened as this will also shorten their lifespan.
Refer to your equipment manufacturer’s guidelines for the correct tightening torque. If you’re unsure how to install bearings, always consult a professional.
2. Avoid Overheating the Wheel Bearing
If bearings are heated above the heat permitted by the manufacturer, it will result in the decay of the wheel bearing.
Wheel bearings can overheat due to several reasons, including:
- Friction caused by rotating parts
- Poor lubrication
- External heat (such as fire or welding)
- Electrical arcing
The best way to avoid overheating bearings is to ensure they’re well lubricated and that there’s adequate airflow around them. You should also monitor your equipment for any unusual sounds or vibrations indicating a bearing problem.
3. Keep Wheel Bearings Clean
Bearings operate best when free from contaminants such as dirt, dust, and grease. Not only will cleaning keep your bearings running smoothly, but it will also prevent premature wear and tear.
6 Step Procedure for Cleaning Old Wheel Bearings
If your bearings have become dirty over time, cleaning them will help to improve their performance and avoid bearing problems developing over time.
Here’s a six-step cleaning process for old wheel bearings:
1. Remove the Wheel Bearing
Start by mounting your vehicle, so there is no weight on the wheel bearing you will remove and clean. Then remove the lug nuts, wheel, and tire as well as the brake rotor.
To dislodge the bearing, refer to the manufacturer’s guidelines as bearings are attached differently to each vehicle make, and incorrectly removing it may damage the bearing housing, causing premature failure. Ensure you always use the correct tools when removing wheel bearings such as bearing pullers or induction heaters to avoid permanent damage.
2. Disassemble the Bearing
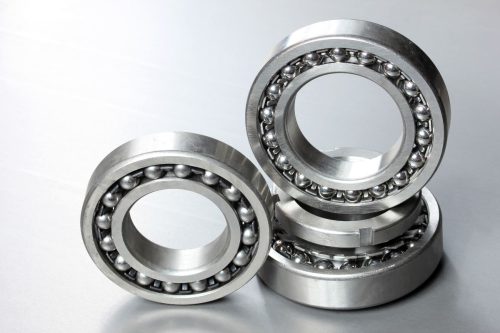
Once the bearing is removed, use a socket wrench to remove the dust cap and then remove the inner bearing races. Carefully pry out the ball bearings with a screwdriver and set them aside in a safe place – you will need to reinstall them later.
Remove the cone or cup (depending on your type of bearing), being careful not to damage it as you will need to reuse it. If there are any seals present, remove these too using a seal puller.
You should now have all of the components of the old wheel bearing in front of you.
3. Clean Your Bearings
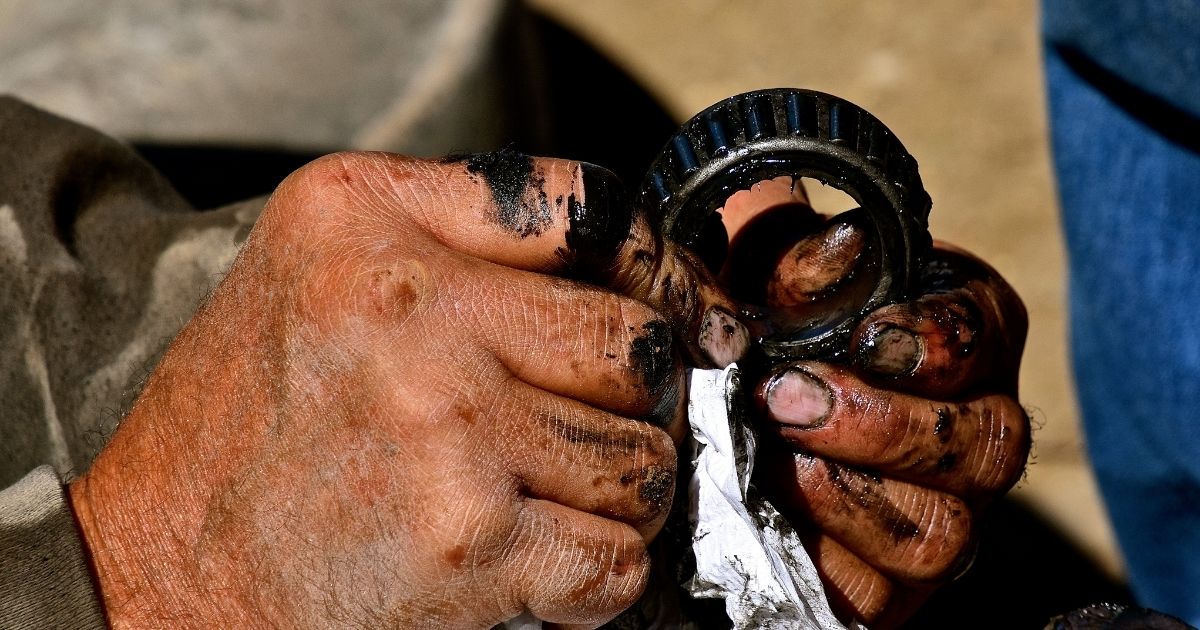
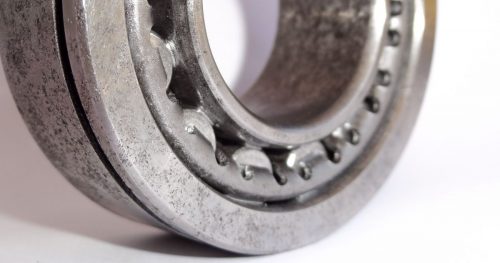
Now you can begin cleaning your bearings. It is important to clean them thoroughly, so you don’t have to clean them regularly. While handling bearings, it is also a good idea to wear gloves as oils transferred from your hands onto the bearings can cause rust and corrosion over time.
There are a few ways you can clean your bearings:
- Use a few drops of solvent cleaner or a citrus cleaner
- Polish away any built-up dirt with a soft cloth
- Blast bearings with pressurised air
- Wipe dirt off of rubber shields with warm soapy water and a lint-free cloth.
Once the surfaces clean, dry them off using a lint free cloth.
4. Re-Lubricate the Bearing
Before you put the bearings back together, you need to apply the proper lubrication. This will help keep them in good condition and help the rolling elements continue to work properly.
There are a few ways of re-lubricating bearings:
- Apply bearing grease using a brush or your fingers
- Soak the bearings in oil or isopropyl alcohol
Make sure you use the correct lubricant for your bearing types as using the incorrect lubricant may cause corrosion.
5. Reassemble the Beaning
Once the bearings are properly lubricated, it is time to reassemble the bearing. This process is pretty straightforward and can be done with a few simple tools.
- First, place the inner race on the shaft
- Next, add the bearings
- Finally, put the outer race back on top
Use a hammer to tap them into place until they are fully seated. You may also need to use a seal driver to get everything properly aligned.
6. Reattach the Clean Bearing to the Machinery
Now the bearing is ready to be installed back onto the machinery. Make sure to use the same precautions as before when cleaning and lubricating the bearing.
It is also a good idea to keep an eye on the bearing in the future and replace it if you start to see any signs of wear and tear. By following these simple steps, you can help ensure that your bearings run smoothly for years to come.
Need New Bearings? Contact StateWide Bearings!
Are your bearings needing to be replaced? Contact StateWide Bearings for all your bearing needs! We have a wide selection of bearings and can help you find the perfect one for your machinery. Contact us today!

